Anyone can create a school on Lena. The person who creates it becomes its owner and a Superadmin. It takes three steps, and only the first one is required.
If your school is already on Lena, don’t create it again. Ask one of its admins to invite you; see admins and roles.

Sign up

1

Open Lena for Schools

Go to school.lena.africa, enter your email address and choose Continue.
2

Confirm your email

Enter the code we email you. If you already have a Lena account, enter your password instead and skip the next step.
3

Create your account

Enter your first name, last name and a password, then choose Create account. See sign in to Lena for the password rules.
If you have no school yet, Lena takes you straight to the first setup step.

Set up your school

1

Your school

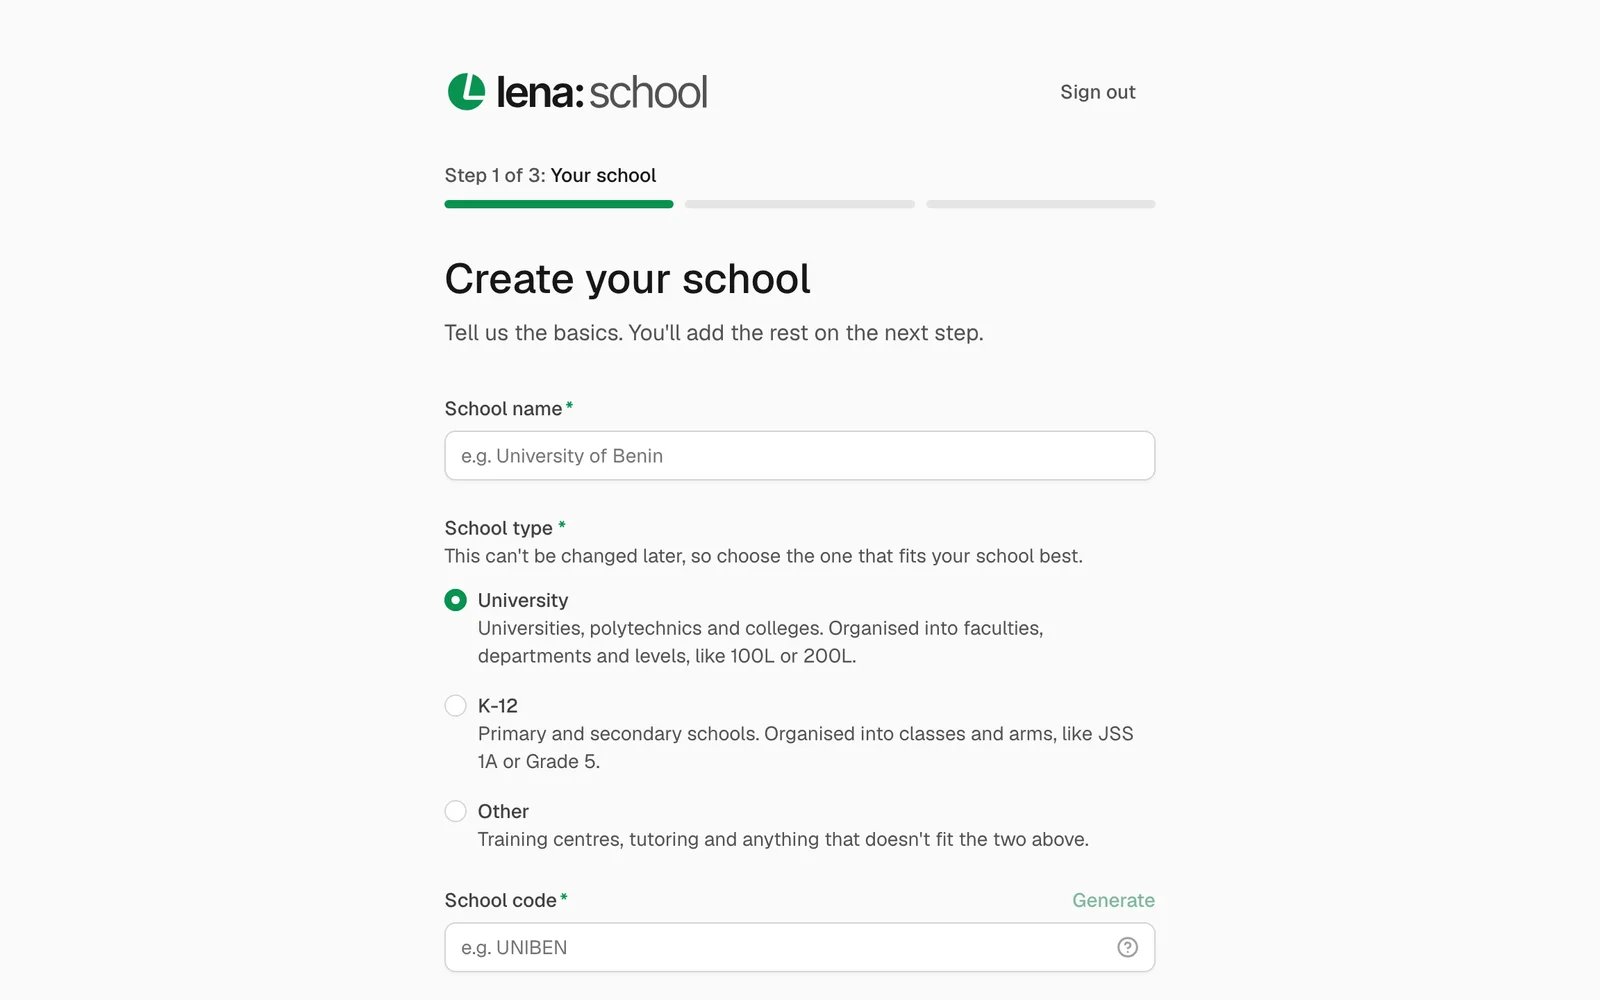
Enter your School name and choose the School type: University, K-12 or Other (training centres, tutoring and anything else).The School code fills itself in from the name, such as CVU for Crestview University. Change it if you like, or choose Generate to make another.Choose Create school.
The Create your school form with School name, School type and School code

Step 1: name your school, choose its type and check its code.

2

Make it yours

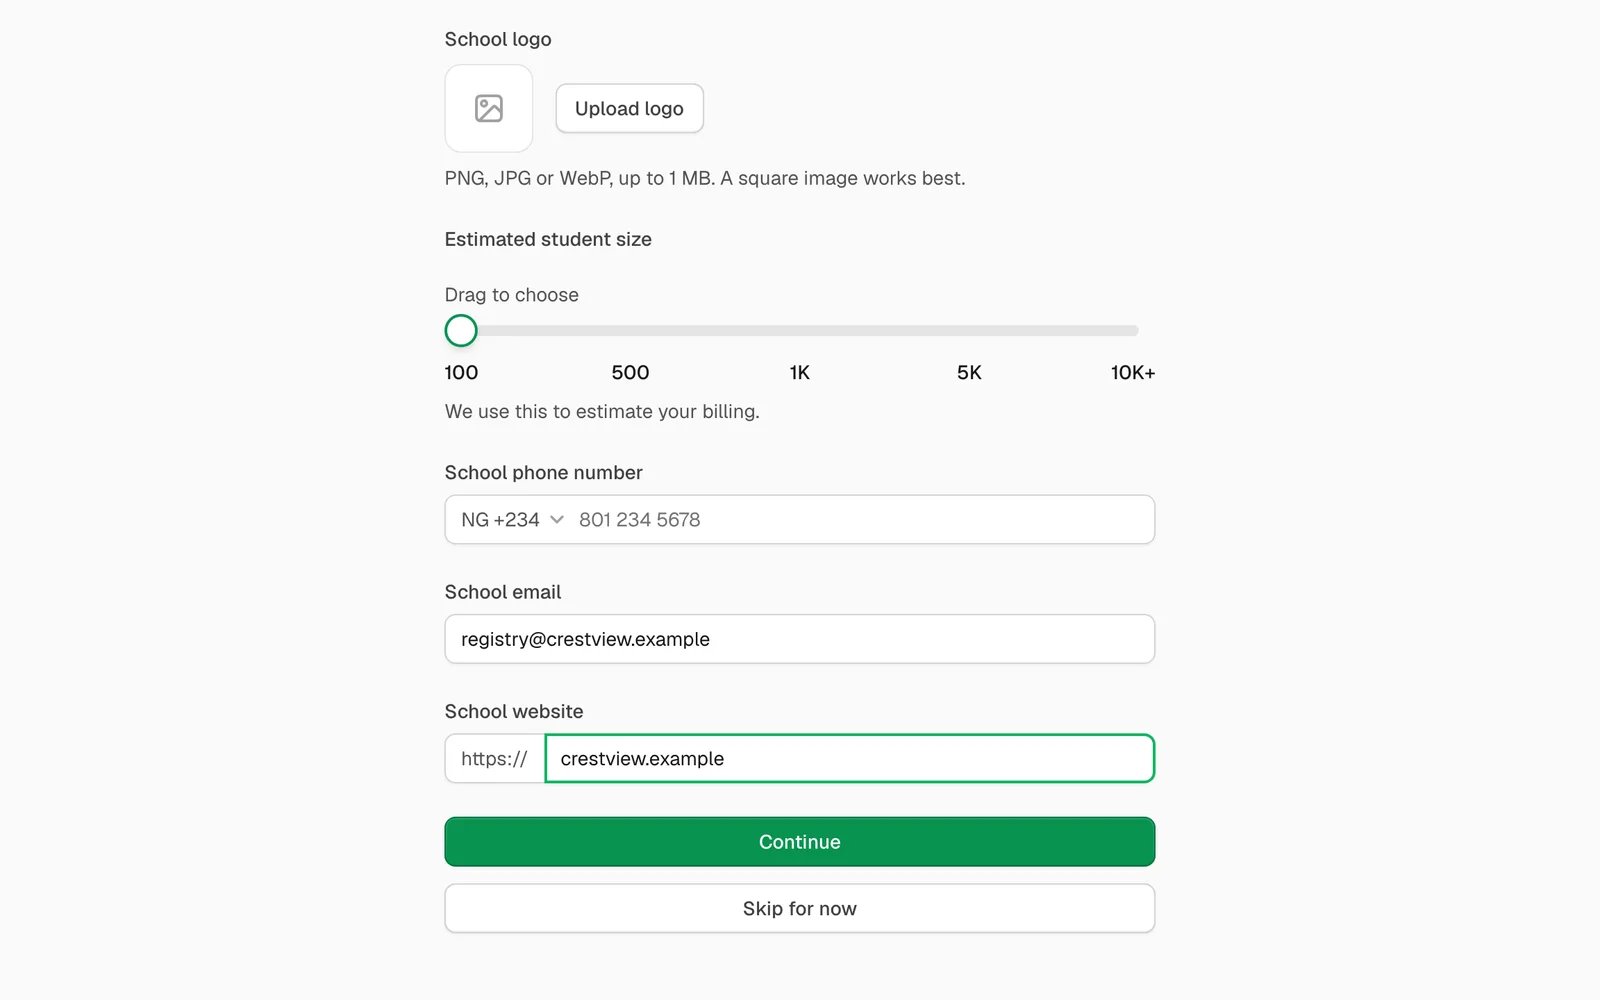
Add a School logo, your Estimated student size, a School phone number, School email and School website. Every field is optional. Choose Continue, or Skip for now.
The Make it yours form with logo, student size, phone, email and website fields

Step 2: everything here is optional, and you can change it later in Settings.

3

Your plan

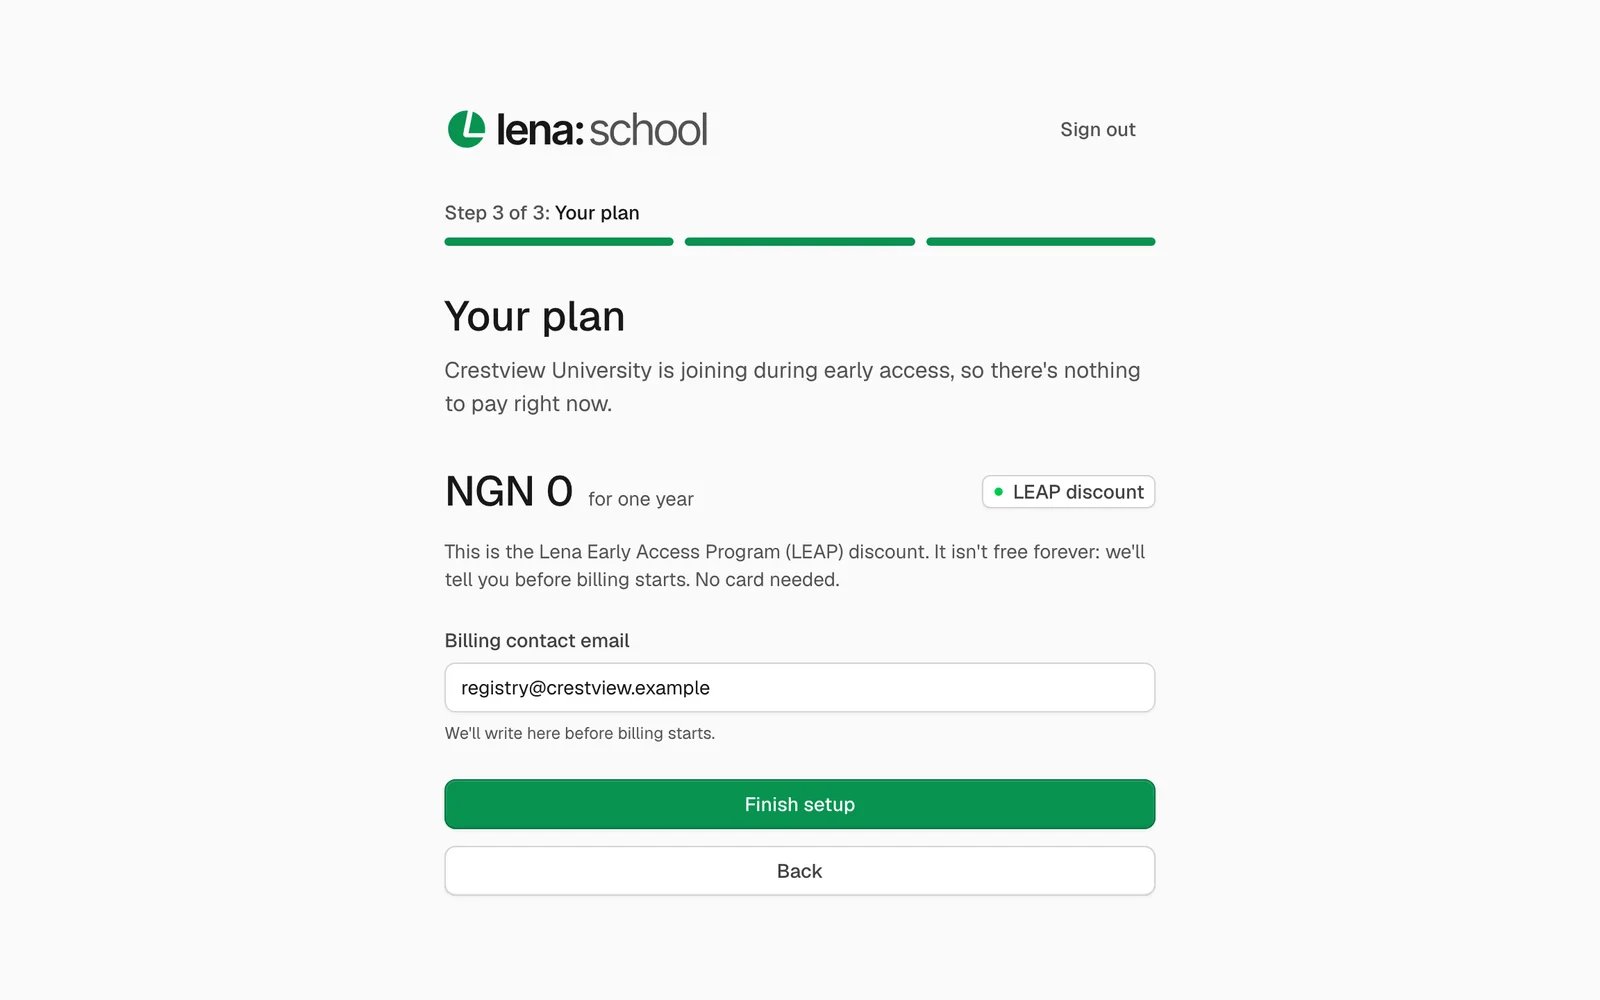
Schools joining now are part of early access. The page reads “NGN 0 for one year” with a LEAP discount badge: “This is the Lena Early Access Program (LEAP) discount. It isn’t free forever: we’ll tell you before billing starts. No card needed.”Check the Billing contact email. It starts as your school email, and it’s where we’ll write before billing starts. Choose Finish setup.
The Your plan step showing NGN 0 for one year with a LEAP discount badge and a billing contact email

Step 3: nothing to pay during early access.

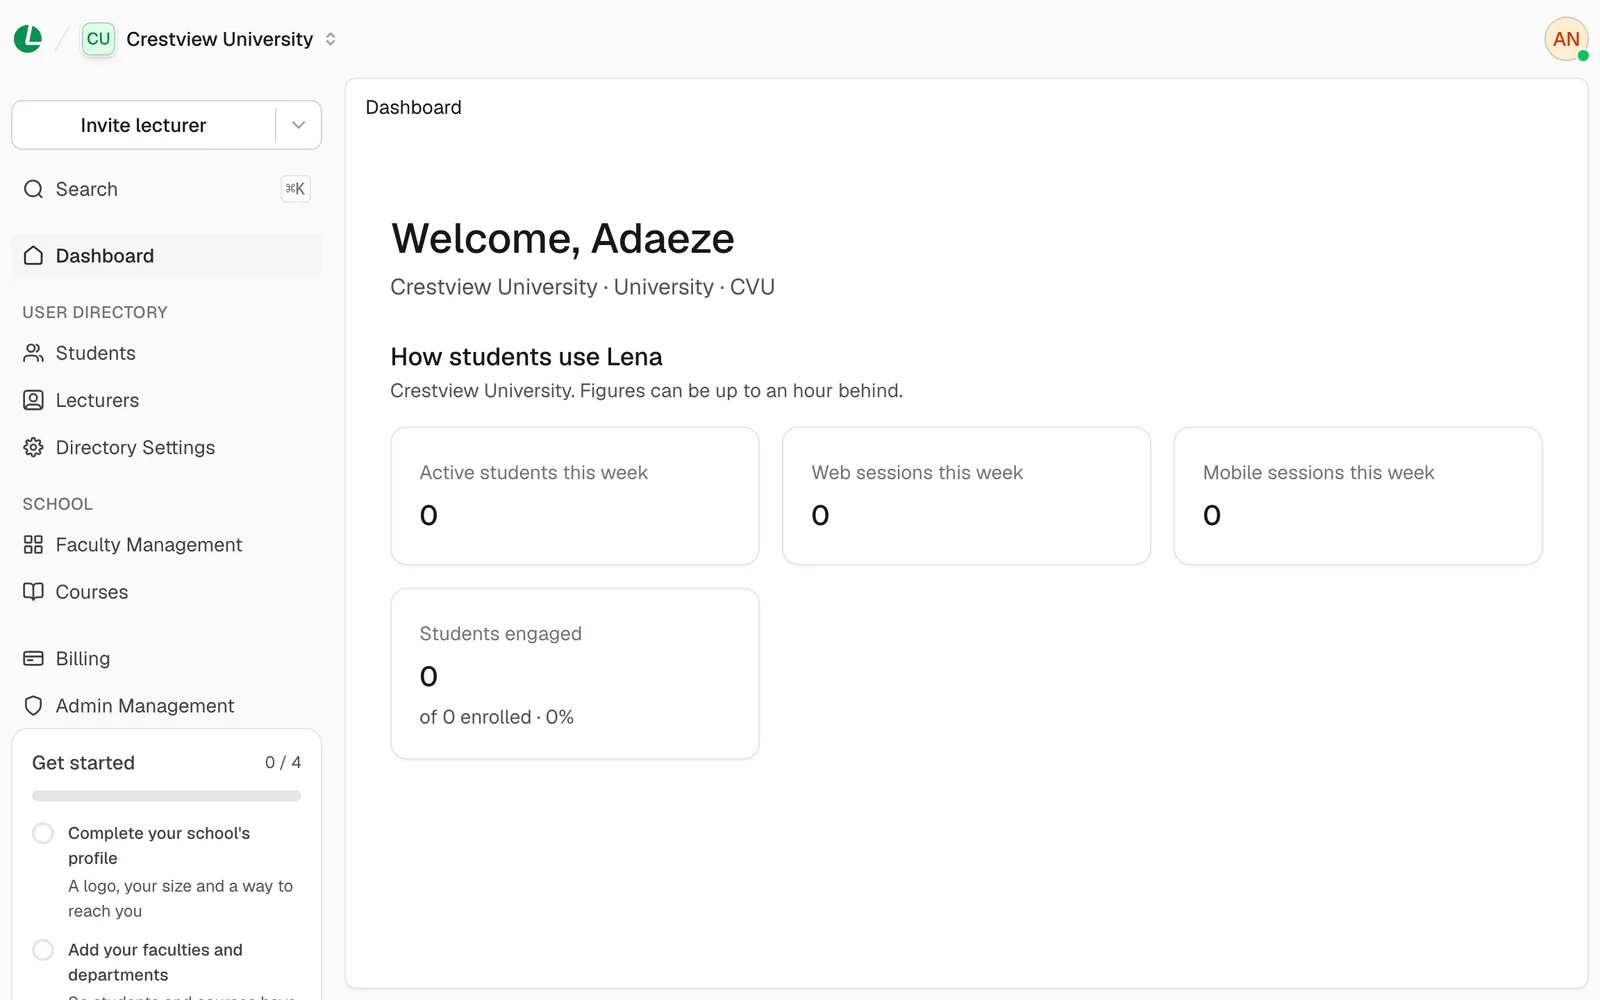
Your school’s dashboard opens.
The dashboard of a new school with all figures at zero and the Get started checklist showing 0 of 4

A brand-new school, with the Get started checklist in the sidebar.

The Get started checklist

The Get started card at the foot of the sidebar shows what to do next, and ticks each one off as you do it:
  1. Complete your school’s profile: a logo, your size and a way to reach you (owner only). Opens Settings.
  2. Add your faculties and departments (or grades and arms, or cohorts and programs). See set up your structure.
  3. Invite your first lecturer. See lecturers.
  4. Add your first student: invite one, or import a class.
Set up your structure first: you can’t add students until there is somewhere to place them.

Good to know

  • The school type can’t be changed later. Choose the one that fits best. It decides the words Lena uses, such as faculty and level, or grade and arm. See words your school uses.
  • One account, many schools. To add another school, open the school switcher at the top and choose Add school.
  • You can change the details later, except the type, in school settings.

Troubleshooting

A school with that name is already on Lena, so you can’t create it again. Ask one of its admins to invite you from Admin Management.
Another school uses that code. Change it, or choose Generate.
Your other details were saved. Add the logo later in school settings. Use a PNG, JPG or WebP image under 1 MB.
Try again. It won’t create a second school.

Next

Set up your structure

Add faculties, departments and levels, so students and courses have a place.

Invite a lecturer

Bring in the people who’ll teach.