

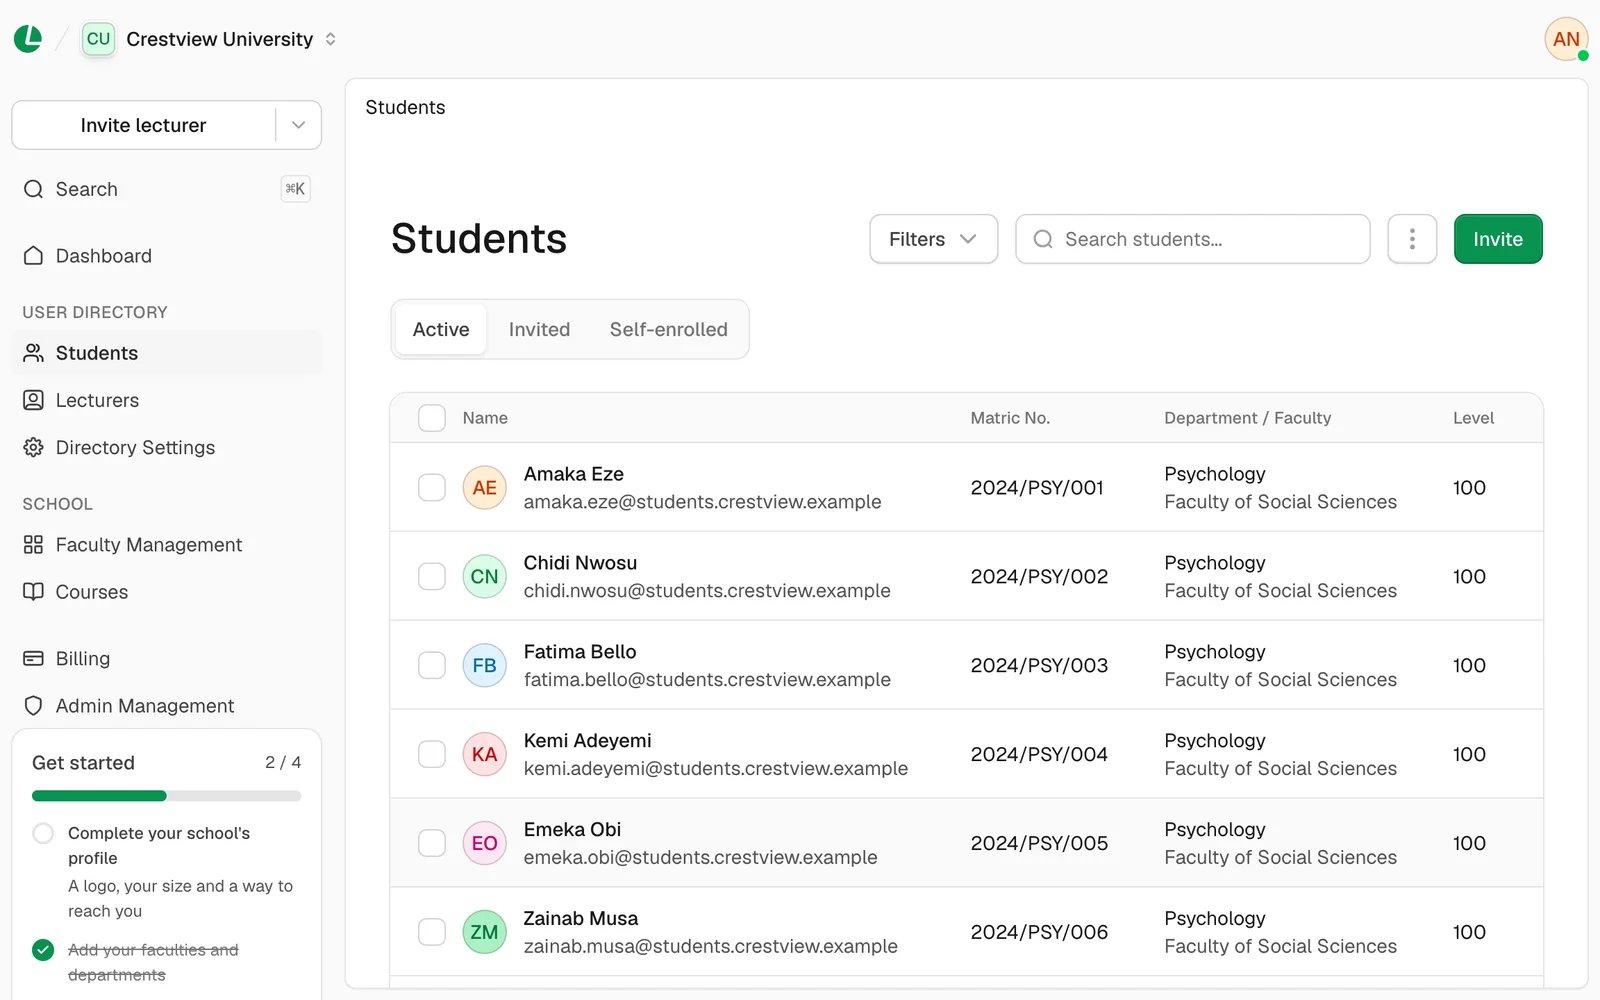
The Students list at Crestview University.
Find students
- Search students… finds a student.
- Filters narrows the list to where students sit: Faculty, Department and Level (or Grade and Arm). Choose a faculty before a department. Clear all resets them.
- The Active tab shows everyone, including students who haven’t accepted their invitation yet. Invited shows only those still to accept.
Invite one student
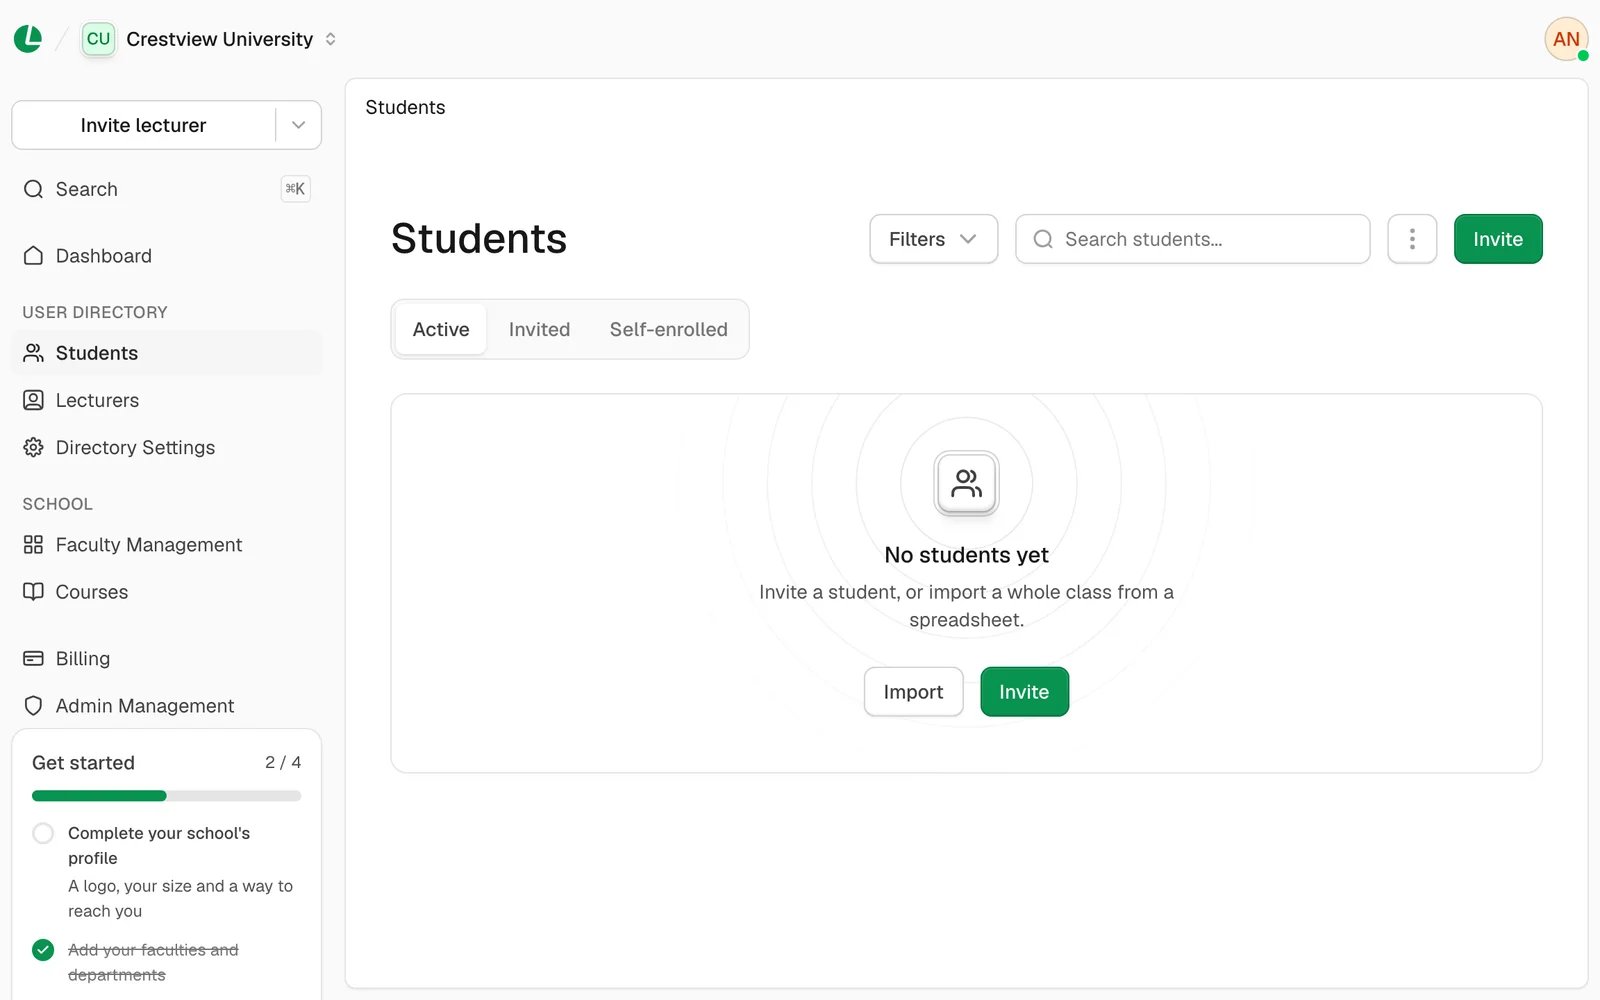
Before any students are added, you can invite one or import a class.
1
Start an invitation
On the Students page, choose Invite. Or, at the top of the sidebar, choose the arrow beside Invite
lecturer, then Invite student.
2
Enter who they are
Enter their First name, Last name and Email. At a university you can add their Matric number (at a
K-12 school, Class/Admission Number). It’s optional.
3
Place them
Choose their Faculty, then Department, then Level. Each list appears once the one above is chosen. At a
K-12 school, choose the Grade and Arm; at other schools, the program and, if you like, a group.
4
Send it
Choose Invite. You land on the Invited tab.
What the student receives
A student who is new to Lena gets an email with their sign-in details, so they can sign in to Lena for Students straight away. A student who already has a Lena account is added to your school and told so by email; they keep their own password. At other schools (not university or K-12), Lena gives each student an ID that starts with their program’s code, such asSKHUB/CSR/001. They sign in with their email address.
Edit a student
Open the student and choose Edit, or choose Edit from the row’s menu. You can move them to another place in the school. Their matric number is locked so it isn’t changed by accident: choose Unlock to edit to change it. Choose Save changes. A student’s name, email and photo are theirs to change, in their own settings.Move many students at once
Use this to promote a class to the next level.1
Select them
Narrow the list with Filters, then tick the box beside each student. Choosing a name opens the student instead.
Your ticks are cleared if you go to another page of the list, so finish one page at a time.
2
Choose Edit
In the bar that says how many are selected, choose Edit.
3
Choose where they go
Choose the new Level (or department, grade or arm). Whatever you choose is set for all of them; anything you
leave as it is stays as it is. Choose Save.
Remove students
Choose Remove from a row’s menu, or select several and choose Remove in the bar. They’re removed from the school and from all its courses. This can’t be undone.Download the list
Open More actions beside Invite and choose Download all, or Download current view once you’ve narrowed the list. You get an Excel sheet. While it’s being made, you’ll see its progress at the bottom right of the screen.Troubleshooting
“Set up your faculties and departments first”
“Set up your faculties and departments first”
Each student needs a place in the school. Choose Go to Faculty Management and add your
structure.
“This person is already a student at …”
“This person is already a student at …”
They’re already at your school. Search for them on the Active tab.
“Another student already has this matric number.”
“Another student already has this matric number.”
Matric numbers must be unique. Check the number, or find the other student and correct theirs.
“Add a code to … in Cohort Management first, so its students can be given an ID.”
“Add a code to … in Cohort Management first, so its students can be given an ID.”
At other schools, student IDs are made from the program’s code. Add one to the program in Cohort Management.
Next
Import students
Add a whole class from an Excel sheet.
Directory settings
Choose what students can change about themselves.